Here is a fun little layout that will have you scrappin’ your summer memories in no time – and you may even learn a little technique too! This layout and all supplies are from Creative Memories. Be sure to watch the video at the end to see how this layout was created and a tip on how to off-set your border maker borders!
Creative Memories Supplies for this layout:
- S’more Memories Paper Pack
- S’more Memories Sticker Pack
- White Cardstock
- Crimson Cardstock
- Brown Cardstock
- 12″ Trimmer
- Border Maker System & Cloud Cartridge
- Majestic Mountains Border Punch
- Tape Runner, Repositionable Tape Runner & Foam Squares
")
")
")
")
Instructions:
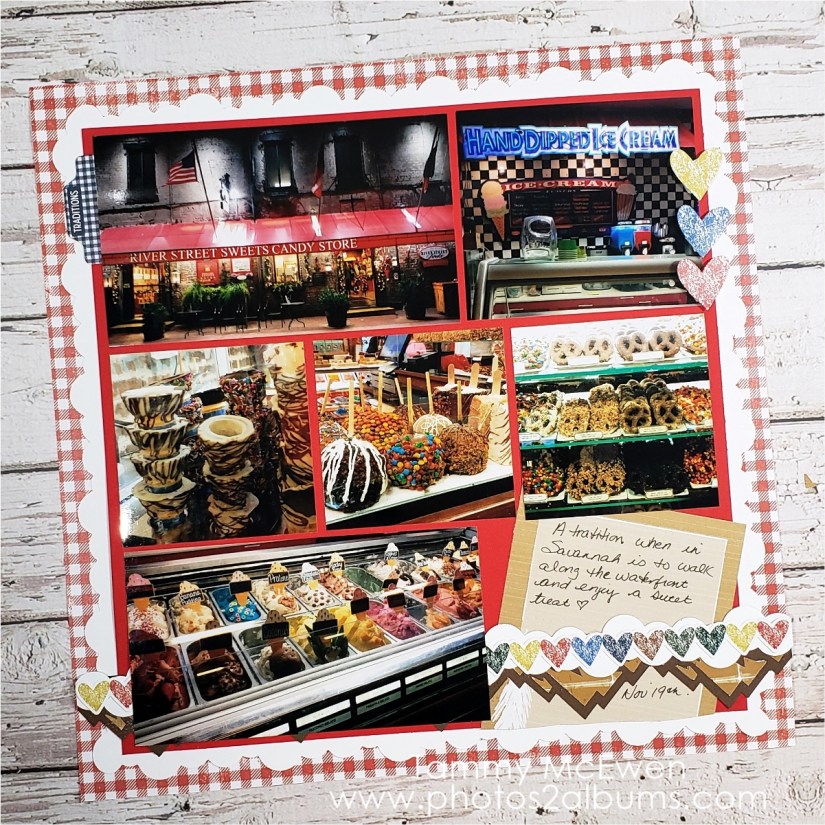
- Use the White Cardstock and Cloud Border Maker System to cut a border around the entire edge of the 12 x 12 White Card stock, centering the border in the guide as you turn to cut each side (see video)
- Adhere to the center of the red check patterned paper
- Cut Crimson Cardstock to 10.5″ x 10.5″ and adhere to the center of the White Cloud Border punched paper.
- To make the ice cream cone border;
- Use the Majestic Mountains Border Punch to cut a border from the Brown Cardstock and one from the S’more paper, sky pattern facing up, reserve the little mountain bits
- Adhere the Brown Mountain border, mountains facing down, to the lower edge of the page, using the repositionable Tape Runner, adhere the S’more paper Mountain ‘bits’ into the cut outs of the Brown mountain.
- To cut the ice cream scoops border, use White Cardstock and punch a Cloud Border, Use the 12″ Trimmer and cut to make a 1.25 border, use the Repositionable Tape Runner to Adhere the straight edge of the Cloud border to the straight edge of another piece of cardstock making sure the design is opposite to how the cartridge will punch (see video), punch a border.
- Adhere off-set cloud border to the top of the Majestic Mountain border
- Add the heart border strip on top of the cloud ice cream border
- Add photos and embellishments as desired.
Watch the video below for complete instructions – it’s easier than you think!
So, what do you think? Can you imagine creating a layout like this? You could even create offset border strips using other Border Maker Cartridges you have too!! This has so many possibilities!
Happy, Happy Scrapbooking!
Tammy
Interested in joining my coast-to-coast Canadian Creative Memories Advisor Team? I invite you to contact me or click on the “Join” tab on my CM Website,
Thank you for supporting my affiliate programs:
Creative Memories
FOREVER
Cricut
Shutterfly
Etsy
Check out my Facemasks and other fun items on my Redbubble Store

